My Lucky Train Upgrades Guide
Three spend pillars after you smelt: carts, train, and production.
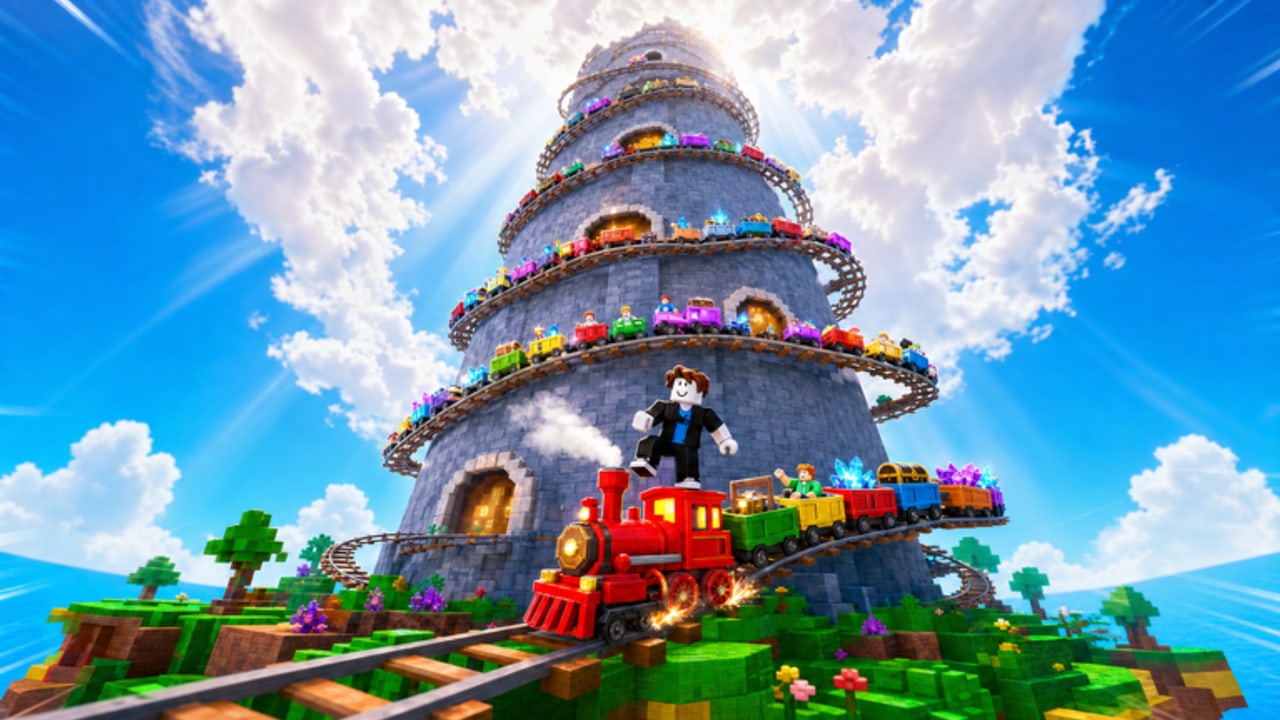
My Lucky Train is a released Roblox simulation tycoon by Mr. Tuff Guy Games. You run a personal train on an online shared island, pull a lever for unique carts, attach keepers to the line, collect ores, then smelt and sell those ores for cash. The official loop names the next spend in plain language: upgrade your carts, train, and production. This guide treats that trio as the whole shop, not as a secret fourth tree. Cash is one pool. Every purchase is a choice against rolling another cart, saving toward rebirth boosts, or unlocking a bigger railway later.
If you are still learning the first-hour loop, start with getting started and come back once the smelter is actually paying you. Upgrades do not replace a weak ore route. They multiply a working one.
Cash from smelting feeds every pillar
Travel around the island, collect valuable ores, smelt them, and sell the result. That sold output is the only verified cash source this wiki uses. There is no published price list here, and this page will not invent upgrade costs, ore names, or shop SKUs. What matters is the pipeline: island route to smelt to cash to spend. If the pipeline is slow, cart upgrades feel expensive, train upgrades feel delayed, and production upgrades never catch up. If the pipeline is healthy, the same three buttons become the way you convert idle time into a longer train.
Your train keeps working while you are away. Offline progress still depends on what you already attached and upgraded. A shop click you make before you leave is not cosmetic. It is the multiplier that keeps running on a five-player server after you disconnect. That is why this page talks about opportunity cost instead of a rigid buy order: the right spend is the one that still pays while you are offline and still leaves enough cash for the next lever pull.
Read ores and smelting when you need the collection side of that pipeline. This page assumes you already understand that cash is earned, not granted, and that you will not starve the lever just to max a single pillar.
Pillar one: cart upgrades
Cart upgrades sit on the unique carts you roll and attach. The lever is how you discover new wagons. Upgrades are how a keeper you already own keeps pace with later rails. A high-rarity cart that sits unupgraded is a trophy. A mid-rarity cart that you upgrade because it is actually on the train is a worker. Use the carts tier list as a band filter, not as a shopping list of invented names. Legendary or better belongs in the long-term attach set. Early commons that you already outgrew should not eat the same cash as a cart you intend to keep through the next railway unlock.
Spend on carts when the line itself is the bottleneck: you already have keepers attached, ores are reaching the smelter, and the missing piece is output per attached wagon. Do not dump a session of cash into a duplicate common just because the upgrade button is available. Duplicates are a collection problem and a cash sink. Unique keepers are the carts this pillar is for.
Pillar two: train upgrades
The train is the personal engine that hauls whatever you attach. Official copy tells you to grow the train, unlock bigger railways and new areas, and let the train keep working while you are away. Train upgrades are the spend that supports that claim. They are not a substitute for rolling a better cart, and they are not a substitute for smelting faster. They are the chassis: length, haul, and the feeling that the same island loop now supports a longer consist.
Spend on the train when you are about to attach more keepers than the current line comfortably supports, or when you are pushing toward a larger railway rather than another cosmetic roll. Because servers are shared and online, a stronger personal train also reads better on the island. Other players can share the space; they cannot run your engine. Train upgrades stay with you through offline progress and through the rebirth cycle described on the rebirth page. If a rebirth is close, ask whether the next train click still pays after the reset-and-boost, or whether that cash should finish the rebirth instead.
Pillar three: production upgrades
Production is the smelt-and-sell side of the official blurb. Carts collect and haul. The train moves the consist. Production turns the ore into cash that funds the other two pillars and the lever. If production lags, you feel rich in wagons and poor in upgrades. If production races ahead of a thin train, you generate cash you immediately waste on low-value rolls.
Spend on production when the island route is feeding more ore than you can clear, when you return from being away to a backlog, or when cart and train clicks have stalled because cash is the real gate. Production upgrades are the least glamorous of the three, which is why they are easy to skip. Skipping them is how players end up rolling on an empty wallet and then blaming the lever.
Opportunity cost versus rolling more carts
Rolling unique carts is the identity of My Lucky Train. Completing the index is a real endgame goal. That does not mean every spare coin should hit the lever. A roll that adds a unique keeper can outperform several shop clicks. A roll that adds a duplicate common spends the same cash for almost no production. Treat the lever as a fourth demand on the same pool, not as a free action that sits outside the budget.
A practical split without invented numbers:
- Keep a cash floor so one bad roll does not freeze smelting.
- Put the next shop click into the pillar that is actually blocking output.
- Roll when you can afford a miss, not when you need the next upgrade to finish a cycle.
- Park extra cash toward rebirth boosts once the current line is stable.
Early sessions lean production plus a few cart clicks so the first keepers pay for themselves. Mid sessions mix train upgrades with selective rolls so the consist can actually use new rails. Late sessions compare every large spend against rebirth and against railway unlocks such as the spiral tower. None of those rules require a price table. They require you to name the bottleneck before you click.
What this wiki will not invent
No cart names, ore names, or upgrade prices appear here because they are not in the verified fact set. Official text is enough to plan: three upgrade pillars, cash from smelting, bigger railways, rebirth boosts, offline train progress, and a personal train on a five-player shared island. If a screenshot dump later publishes exact costs, this page should gain a table. Until then, ranking by bottleneck beats ranking by rumor.
Use getting started for the first attach-and-smelt hour, ores and smelting for the cash pipeline, the carts tier list for which wagons deserve cart upgrades, and rebirth before you empty the wallet on a shop that a boost would replace.
The shop is a three-lane budget, not a completion stamp. Name the bottleneck, spend there, then walk away with enough cash for the next lever pull. That habit, more than any unpublished cost, is what keeps a personal train growing after you log off.
Frequently Asked Questions
Quick answers to the most common questions.
What are the three upgrade pillars in My Lucky Train?
The official description lists carts, train, and production. Cart upgrades strengthen attached keepers, train upgrades support the personal engine and longer railways, and production upgrades speed the smelt-and-sell cash loop.
Should I upgrade first or roll more carts?
Spend on the pillar that is blocking output, and roll only when you can afford a duplicate. A unique keeper can beat several shop clicks; a duplicate common usually should not delay production or a close rebirth.
Do upgrades still matter while I am offline?
Yes. The train keeps working while you are away, so cart, train, and production clicks you already bought continue to feed cash on your personal line even after you leave a five-player server.
Do I need exact upgrade prices to play well?
No. This wiki does not publish invented costs. Watch the bottleneck: slow smelting means production, a thin consist means train or better keepers, and a full wallet with weak wagons means it is time to roll.
How do rebirth boosts change upgrade spending?
Rebirth is meant to make you grow faster after a reset-style boost. If a rebirth is close, finishing that boost can be worth more than one more shop click on the current line. Check the rebirth guide before you empty the cash pool.